ZBrush Jewellery Design Course
Sculpt Your Imagination into Stunning Jewellery
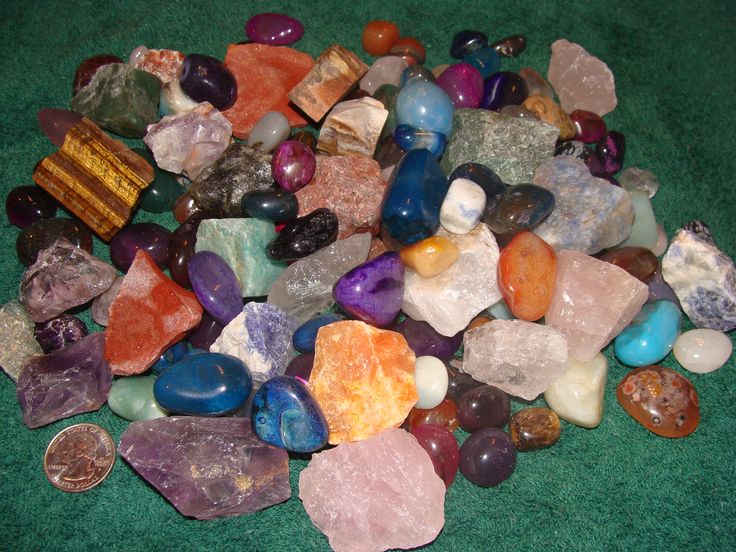
In the ever-evolving world of digital jewellery design, precision sculpting software is redefining how creative ideas are brought to life. ZBrush for Jewellery Designers stands at the forefront of this transformation — a powerful tool trusted by leading jewelers, designers, and luxury brands worldwide.
Our ZBrush Jewellery Design Course is carefully crafted to help you master artistic jewellery sculpting, from intricate organic forms to antique finishes and bespoke masterpieces. Perfect for conceptual work, the program emphasizes creativity, detailing, and production-ready results.
Whether you are a traditional jeweler eager to embrace digital sculpting or a CAD professional looking to specialize in high-detail jewellery modeling, this ZBrush course will give you the skills to transform imagination into stunning, wearable art.
Why Choose ZBrush for Jewelry Designers?
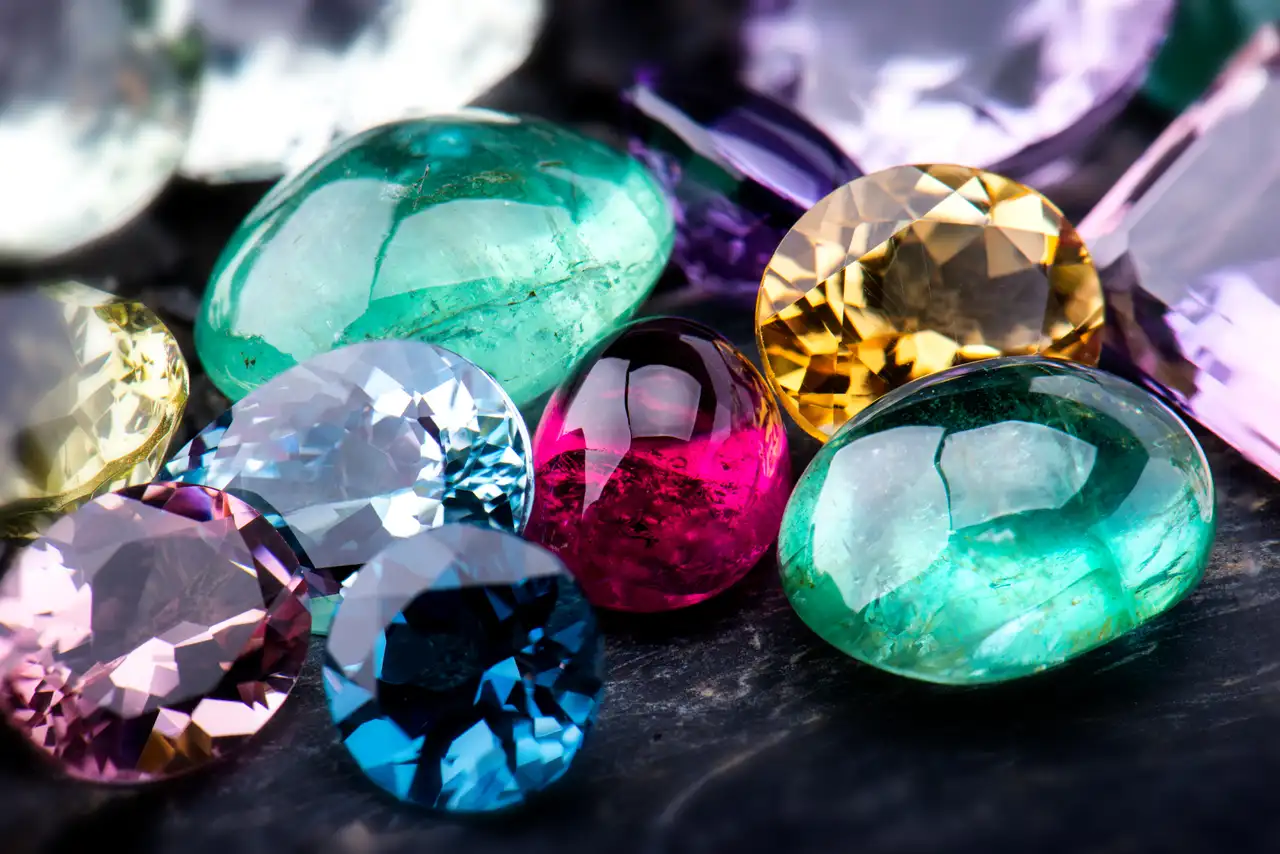
Unlike parametric CAD software like MatrixGold or Rhino, ZBrush allows freeform sculpting of highly detailed organic surfaces, textures, and flowing shapes — perfect for:
- Custom filigree work
- Artistic engraving
- Antique-style jewelry
- Nature-inspired motifs
- Character-based pendants
- Conceptual and avant-garde jewelry
With ZBrush, you're not just designing — you're sculpting wearable art.

Who Should Join?
This course is perfect for:
- Jewelry designers seeking to create sculpted, artistic models
- CAD professionals looking to add organic modeling to their skillset
- Sculptors and 3D artists venturing into wearable design
- Entrepreneurs starting a custom jewelry brand
What You’ll Achieve
By the end of this course, you will:
- Confidently use ZBrush to sculpt high-detail jewelry
- Create unique, custom designs not possible with traditional CAD
- Export production-ready models for 3D printing or casting
- Present your creations through high-resolution renders
- Build a powerful portfolio to showcase your creativity
The course is divided into two modules :
- Basic Module : 8 Weeks (5 Days a Week)
- Advanced Module : 10 Weeks (5 Days a Week)
- Theory Session : Understanding concepts and tools.
- Demonstration : Live demonstration of techniques.
- Practical Task : Hands-on practice to reinforce learning.
Duration
8 Weeks | 5 Days a Week | ~120 Hours
Week 1 : Introduction & Navigation
- Day 1 : Installing ZBrush, Interface Overview
- Day 2 : Navigation, Introduction to Brushes (Move, Standard, ClayBuildup)
- Day 3 : Understanding Dynamesh
- Day 4 : Setting Scale & Units for Jewelry
- Day 5 : Practice: Sculpting a Basic Ring Band
Week 2 : Basic Sculpting Techniques
- Day 6 : Symmetry and Radial Symmetry
- Day 7 : Masking, Selection, Transpose Tools
- Day 8 : Surface Noise, Using Alphas for Textures
- Day 9 : Introduction to IMM Brushes
- Day 10 : Practice: Sculpting a Coin Pendant
Week 3 : Base Forms - Rings, Bangles, Pendants
- Day 11 : Creating Base Meshes
- Day 12 : Introduction to ZModeler
- Day 13 : Ensuring Proper Thickness & Ring Sizing
- Day 14 : Using Curve Tubes for Borders
- Day 15 : Practice: Sculpting a Plain Bangle
Week 4 : Surface Detailing
- Day 16 : Advanced Surface Noise Techniques
- Day 17 : Manual Sculpting of Fine Details
- Day 18 : Applying Alphas for Pattern Embossing
- Day 19 : Creating Basic Bezels for Stones
- Day 20 : Practice: Designing an Ornamental Signet Ring
Week 5 : Organic Jewelry Forms
- Day 21 : Sculpting Leaves and Flowers
- Day 22 : Creating Scrollwork with Curve Brushes
- Day 23 : Freehand Ornament Sculpting
- Day 24 : Combining Organic & Geometric Elements
- Day 25 : Practice: Crafting a Floral Pendant
Week 6 : Detailing & Presentation
- Day 26 : Layered Surfaces and Relief Sculpting
- Day 27 : Techniques for Deep vs. Shallow Engraving
- Day 28 : Adding Micro Details (Beads, Tiny Stones)
- Day 29 : Introduction to BPR Rendering
- Day 30 : Practice: Mini Portfolio Assignment
Week 7 : 3D Printing Preparation
- Day 31 : Using Decimation Master
- Day 32 : Ensuring Watertight Meshes
- Day 33 : Manual Thickness Checks
- Day 34 : Export Settings for STL/OBJ
- Day 35 : Practice: Exporting and Checking a ModeL
Week 8 : Final Portfolio
- Day 36 : Reviewing and Polishing Models
- Day 37 : Creating Simple Stone Settings
- Day 38 : Assembling Ring and Pendant Sets
- Day 39 : Preparing 3D Renders
- Day 40 : Final Review by Instructor Reena Sharma
Duration
10 Weeks | 5 Days a Week | ~150 Hours
Week 1 : Precision Jewelry Creation
- Day 1 : Sculpting Prongs, Claws, and Bezels
- Day 2 : Techniques for Accurate Stone Placement
- Day 3 : Creating Clean Hard Surface Ring Models
- Day 4 : Integrating Organic with Structured Designs
- Day 5 : Practice: Sculpting a Diamond Ring with Prongs
Week 2 : Advanced Surface Detailing
- Day 6 : Creating Custom Alphas
- Day 7 : Applying Micro Surface Textures
- Day 8 : Manual Filigree Sculpting Techniques
- Day 9 : Practice: Designing a Vintage Style Pendant
- Day 10 : Complex Surface Pattern Project
Week 3 : Traditional Jewelry Sculpting
- Day 11 : Sculpting Layered Traditional Kadas
- Day 12 : Basics of Choker Necklace Sculpting
- Day 13 : Stone Setting in Traditional Pieces
- Day 14 : Multi-Part Assembly Using Subtools
- Day 15 : Practice: Sculpting a Temple Design Kada
Week 4 : High Jewelry (Luxury Design)
- Day 16 : Techniques for Smooth Luxury Designs
- Day 17 : Sculpting in the Style of Bulgari/Cartier
- Day 18 : Creating Inset Stones and Invisible Settings
- Day 19 : Practice: Crafting a Luxury Statement Ring
- Day 20 : Midterm Portfolio Review
Week 5 : Hard Surface Jewelry
- Day 21 : Designing Men's Watches and Metal Parts
- Day 22 : Sculpting Watch Frames with ZModeler
- Day 23 : Creating Bracelet Lock Mechanisms
- Day 24 : Utilizing Live Boolean for Multi-Body Objects
- Day 25 : Practice: Designing a Men's Luxury Bracelet Frame
Week 6 : Micro Detailing and Granulation
- Day 26 : Using NanoMesh for Pave Settings
- Day 27 : Implementing IMM Brushes for Stone Arrays
- Day 28 : Techniques for Fine Granule Detailing
- Day 29 : Practice: Crafting a Pave Set Antique Ring
- Day 30 : Model Review
Week 7 : Full Set Creation
- Day 31 : Designing Matching Jewelry Sets
- Day 32 : Ensuring Scaling Consistency
- Day 33 : Organizing Subtools Effectively
- Day 34 : Practice: Creating a Bridal Set (Necklace + Earrings)
- Day 35 : Checkpoints and Corrections.
Week 8 : Coloring and Rendering
- Day 36 : Applying Materials for Gold, Silver, and Diamonds
- Day 37 : Utilizing Polypaint for Realistic Texturing
- Day 38 : Mastering BPR Renders
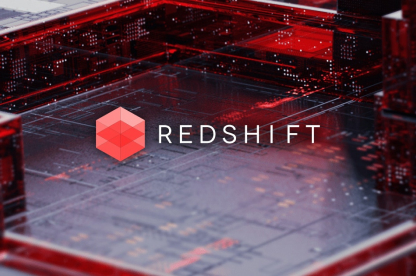
- Day 39 : Introduction to Redshift Rendering
- Day 40 : Producing Portfolio-Quality Renders
Week 9 : 3D Printing Optimization
- Day 41 : Creating Hollow Models to Save Resin
- Day 42 : Troubleshooting Final Meshes
- Day 43 : Preparing Final Exports

Jewellery Designer Faculty
Mrs. Reena SharmaMrs. Reena Sharma serves as the Executive Director of Institute 3D Jewels (formerly known as Excel Institute of Jewellery Designing and Manufacturing Technology) in Jaipur. With over 15 years of experience in the jewelry design industry, she has established herself as a leading expert in both traditional and digital jewelry design methodologies.
Her comprehensive skill set encompasses :
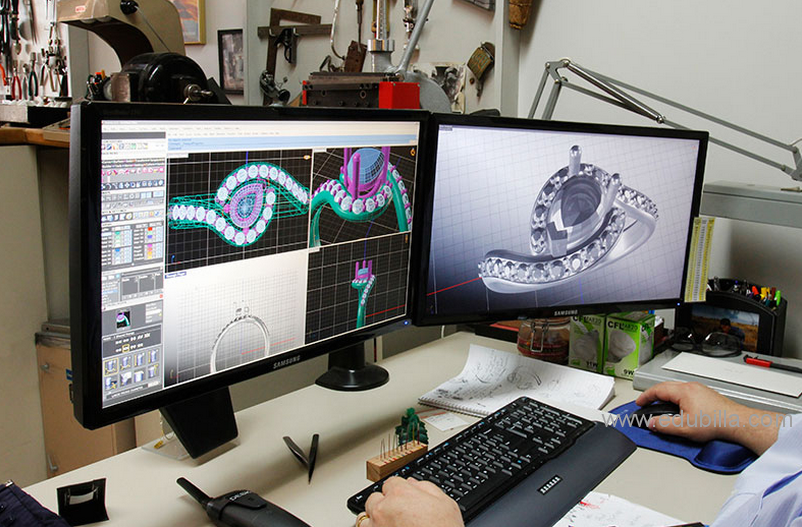
3D Modeling & CAD Software :
ZBrush : Specializing in intricate sculpting tailored for jewelry design.
Rhinoceros (Rhino) : Precision modeling for complex jewelry structures.
MatrixGold : Advanced parametric design for customized jewelry pieces.
JewelCAD : Efficient creation of detailed jewelry models.
Materialise Magics : Preparation and optimization of models for 3D printing.
Digital Design & Illustration :
Procreate : Crafting detailed digital sketches and concept art.
Sketch-Up : Designing and visualizing jewelry displays and environments.
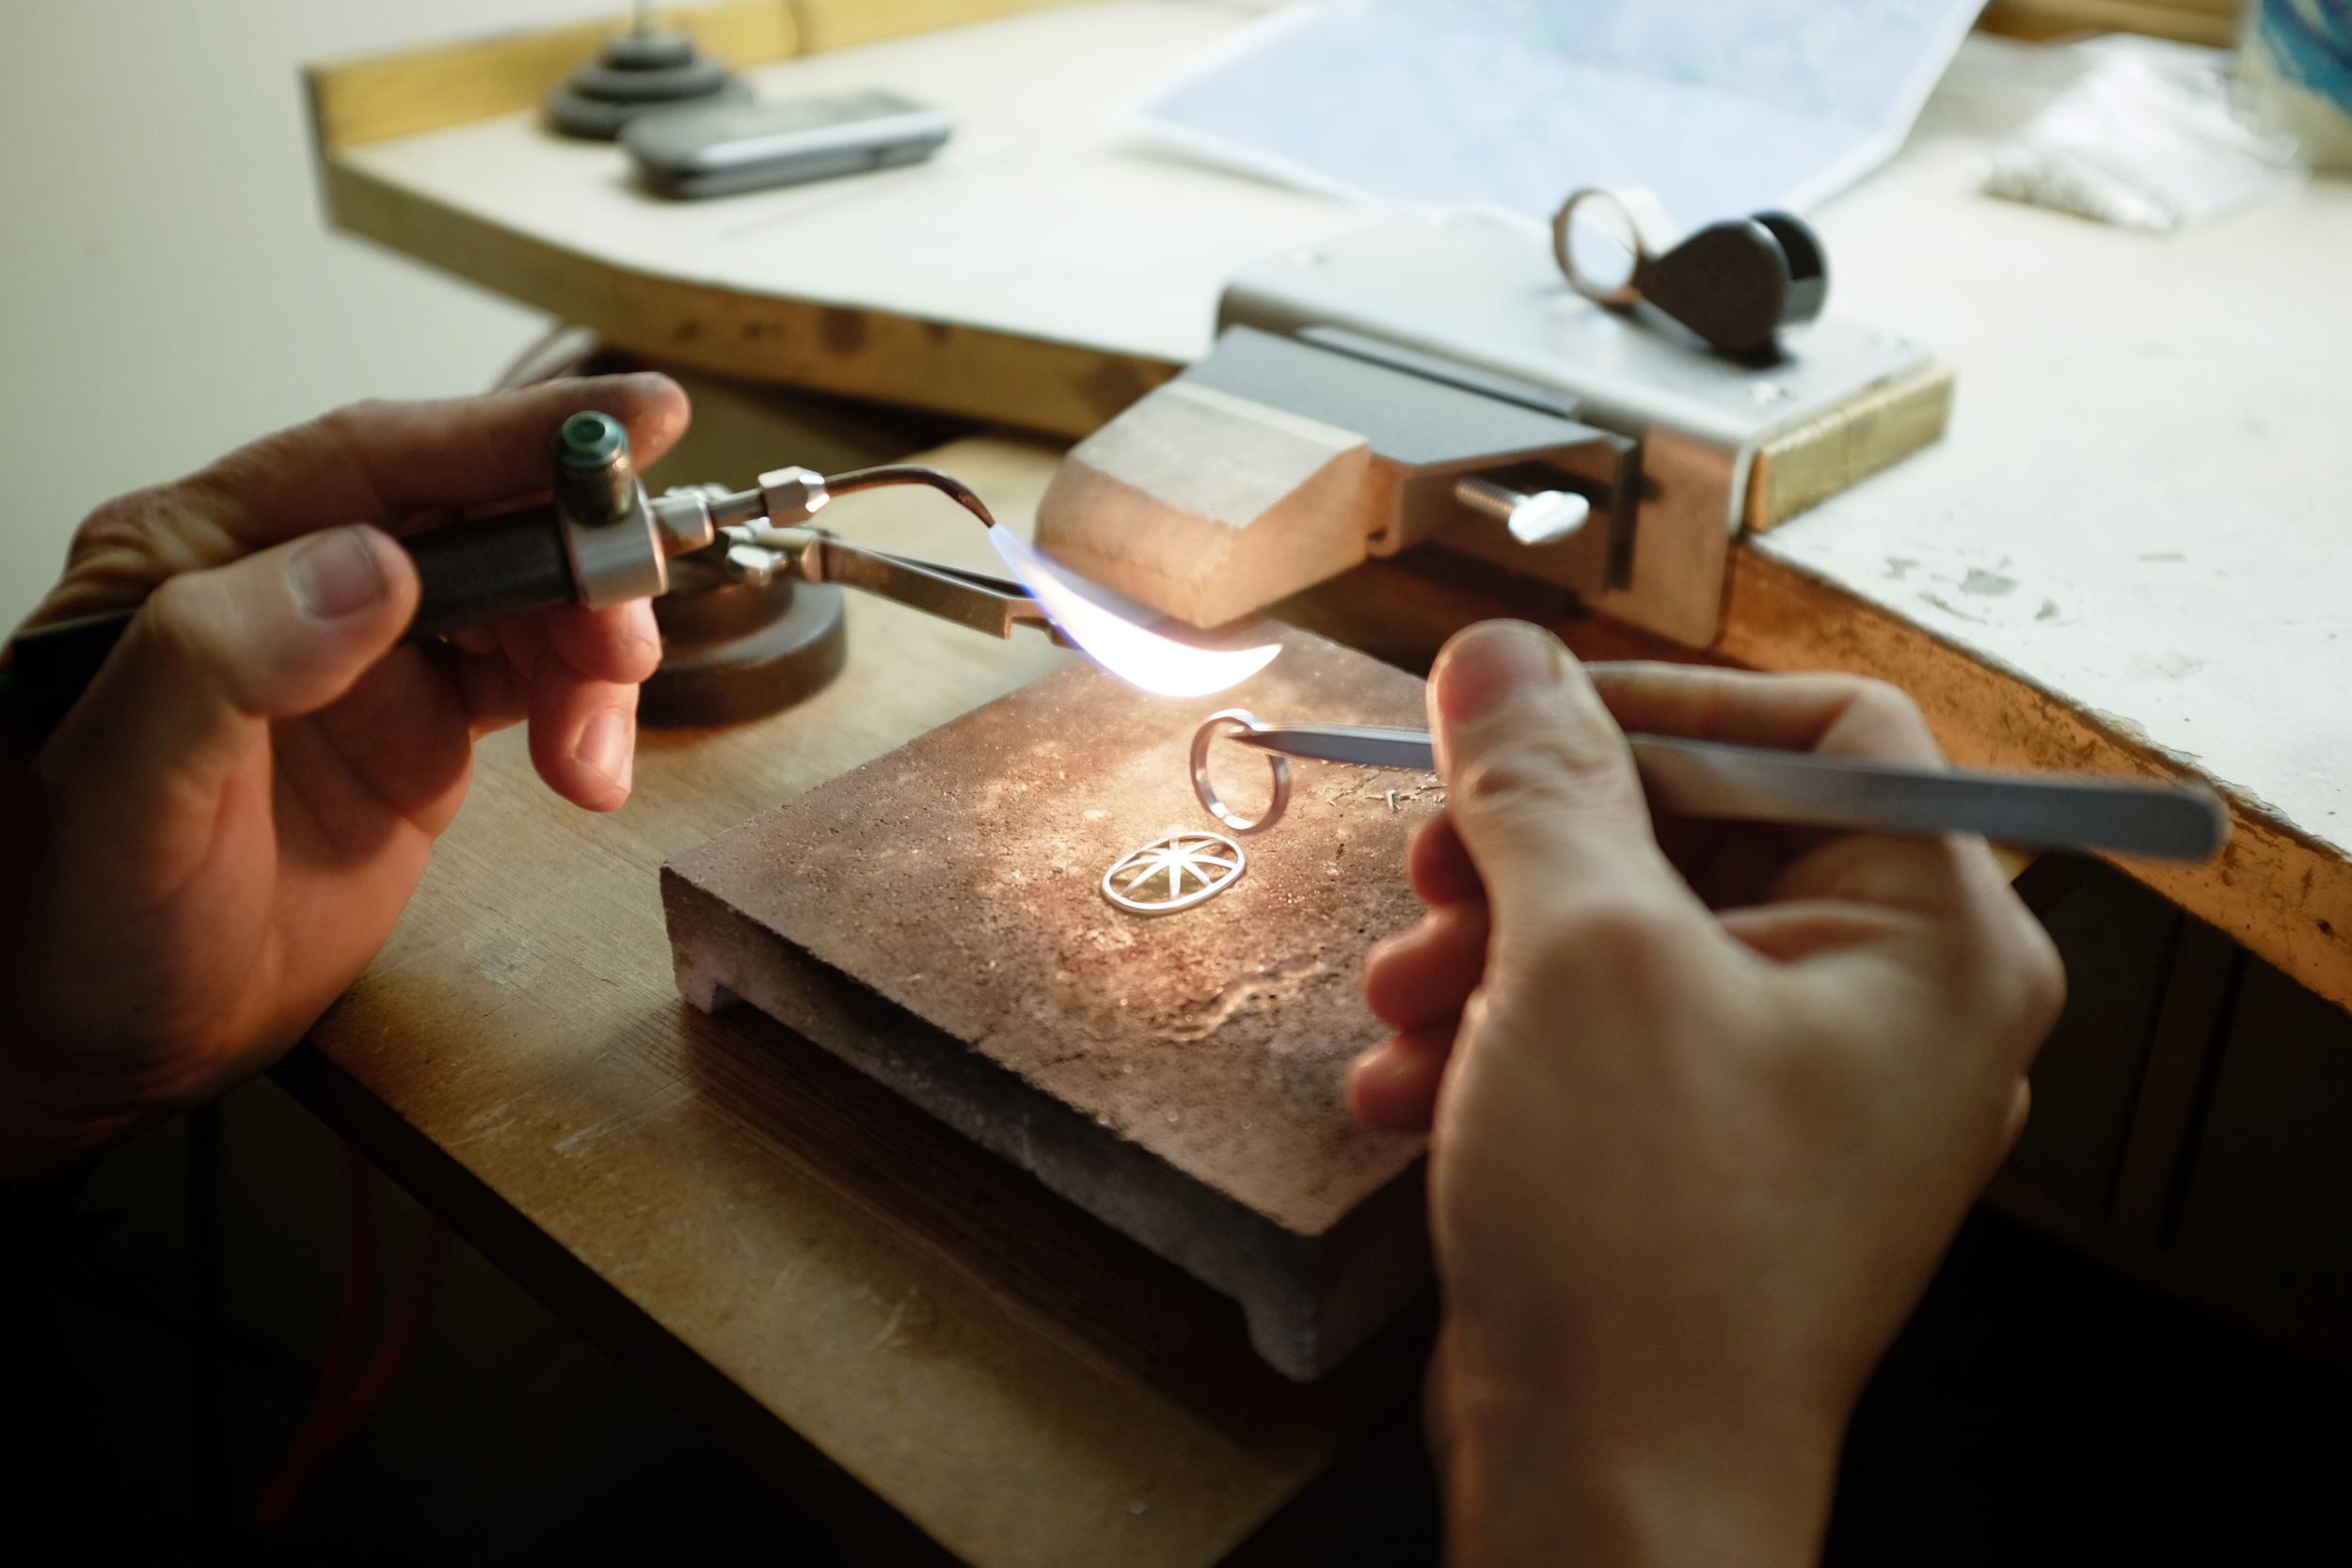
Traditional Techniques :
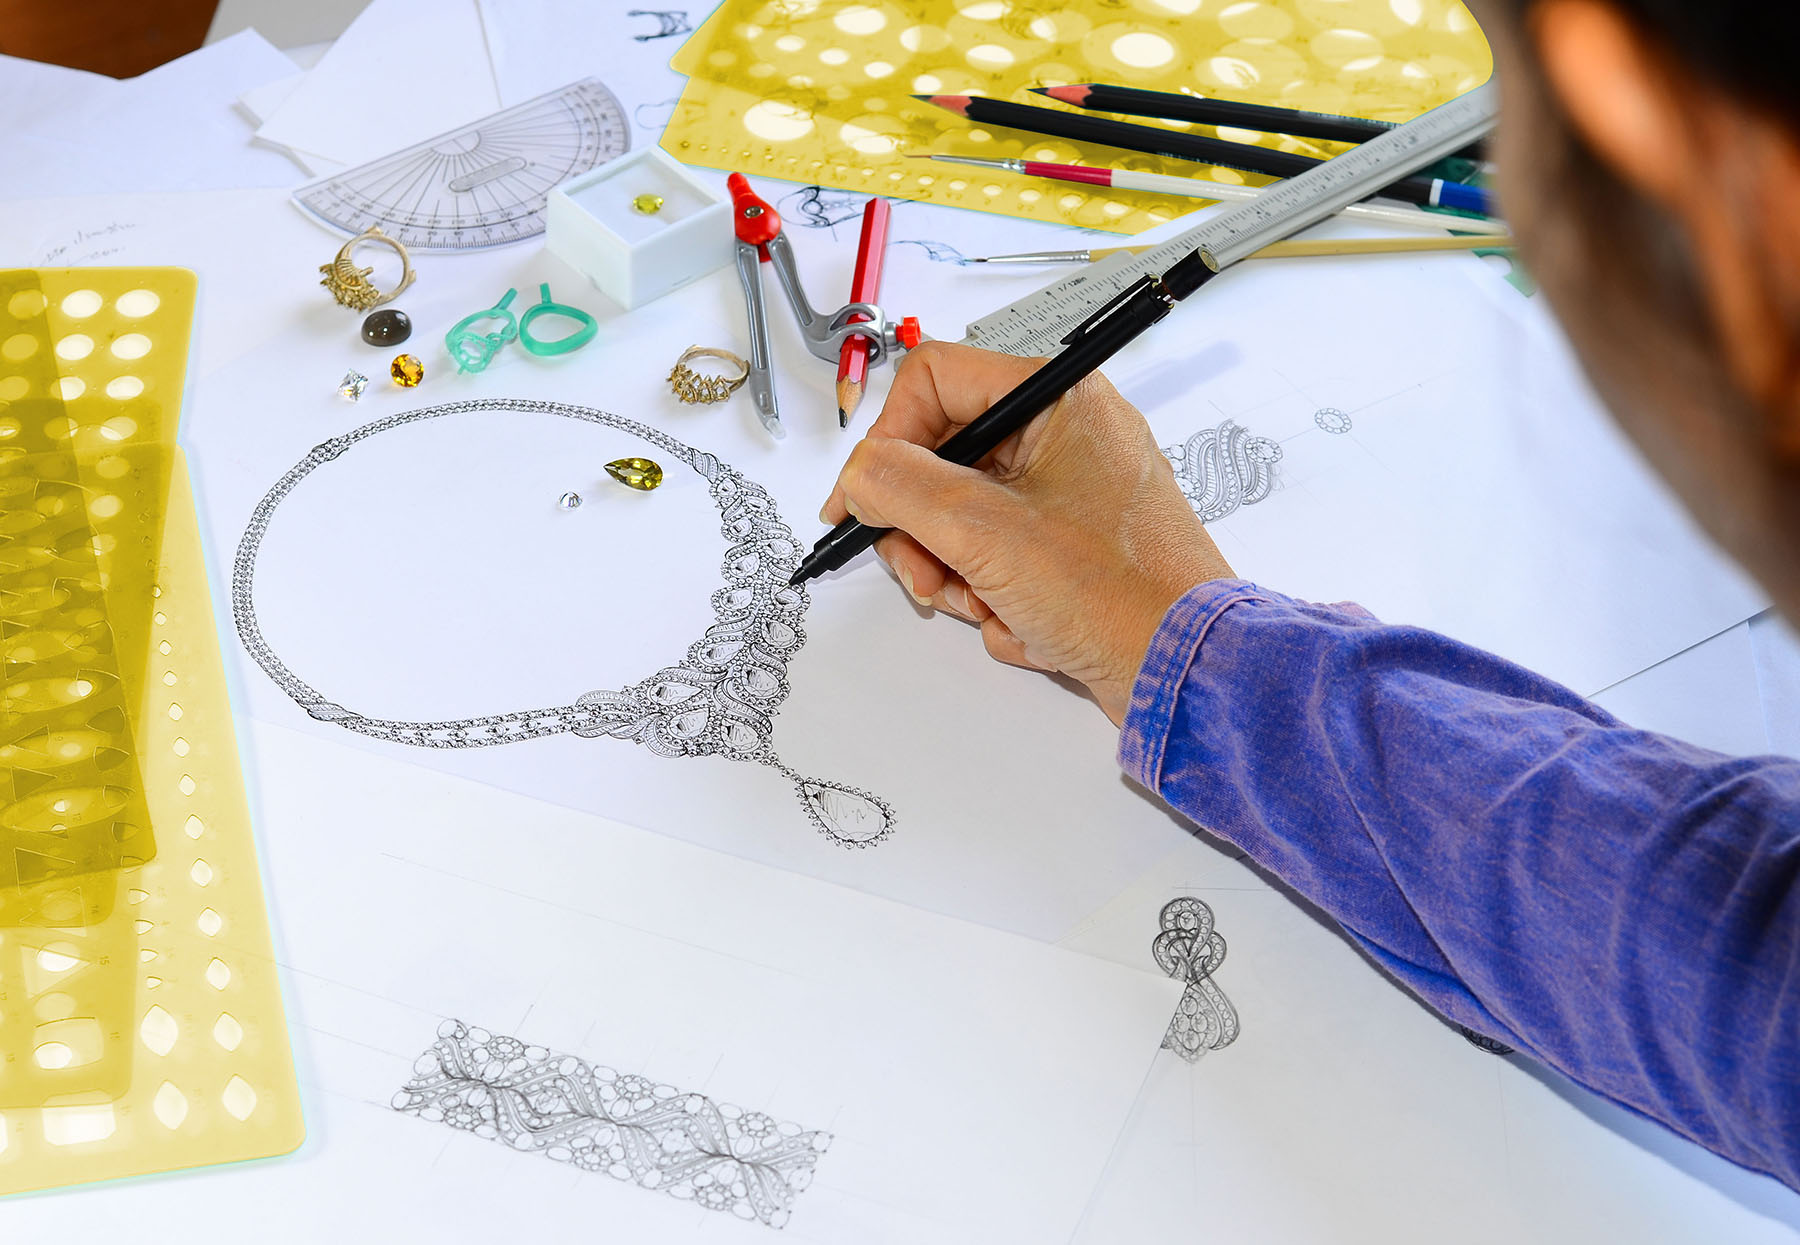
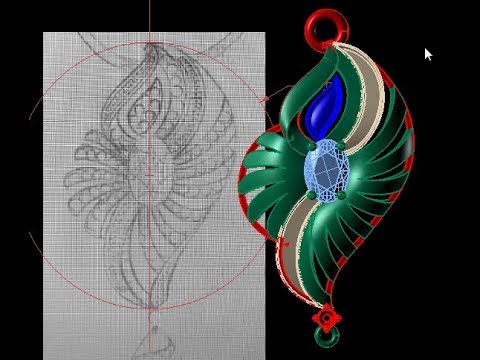
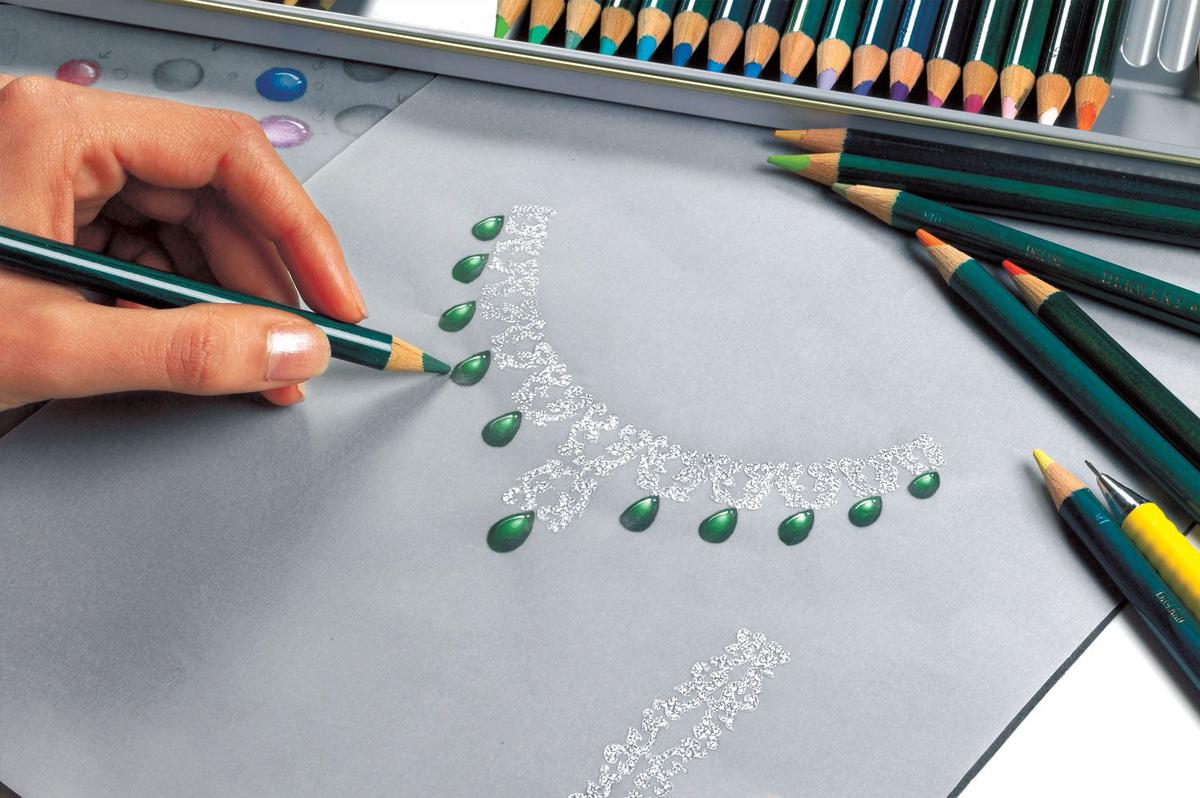
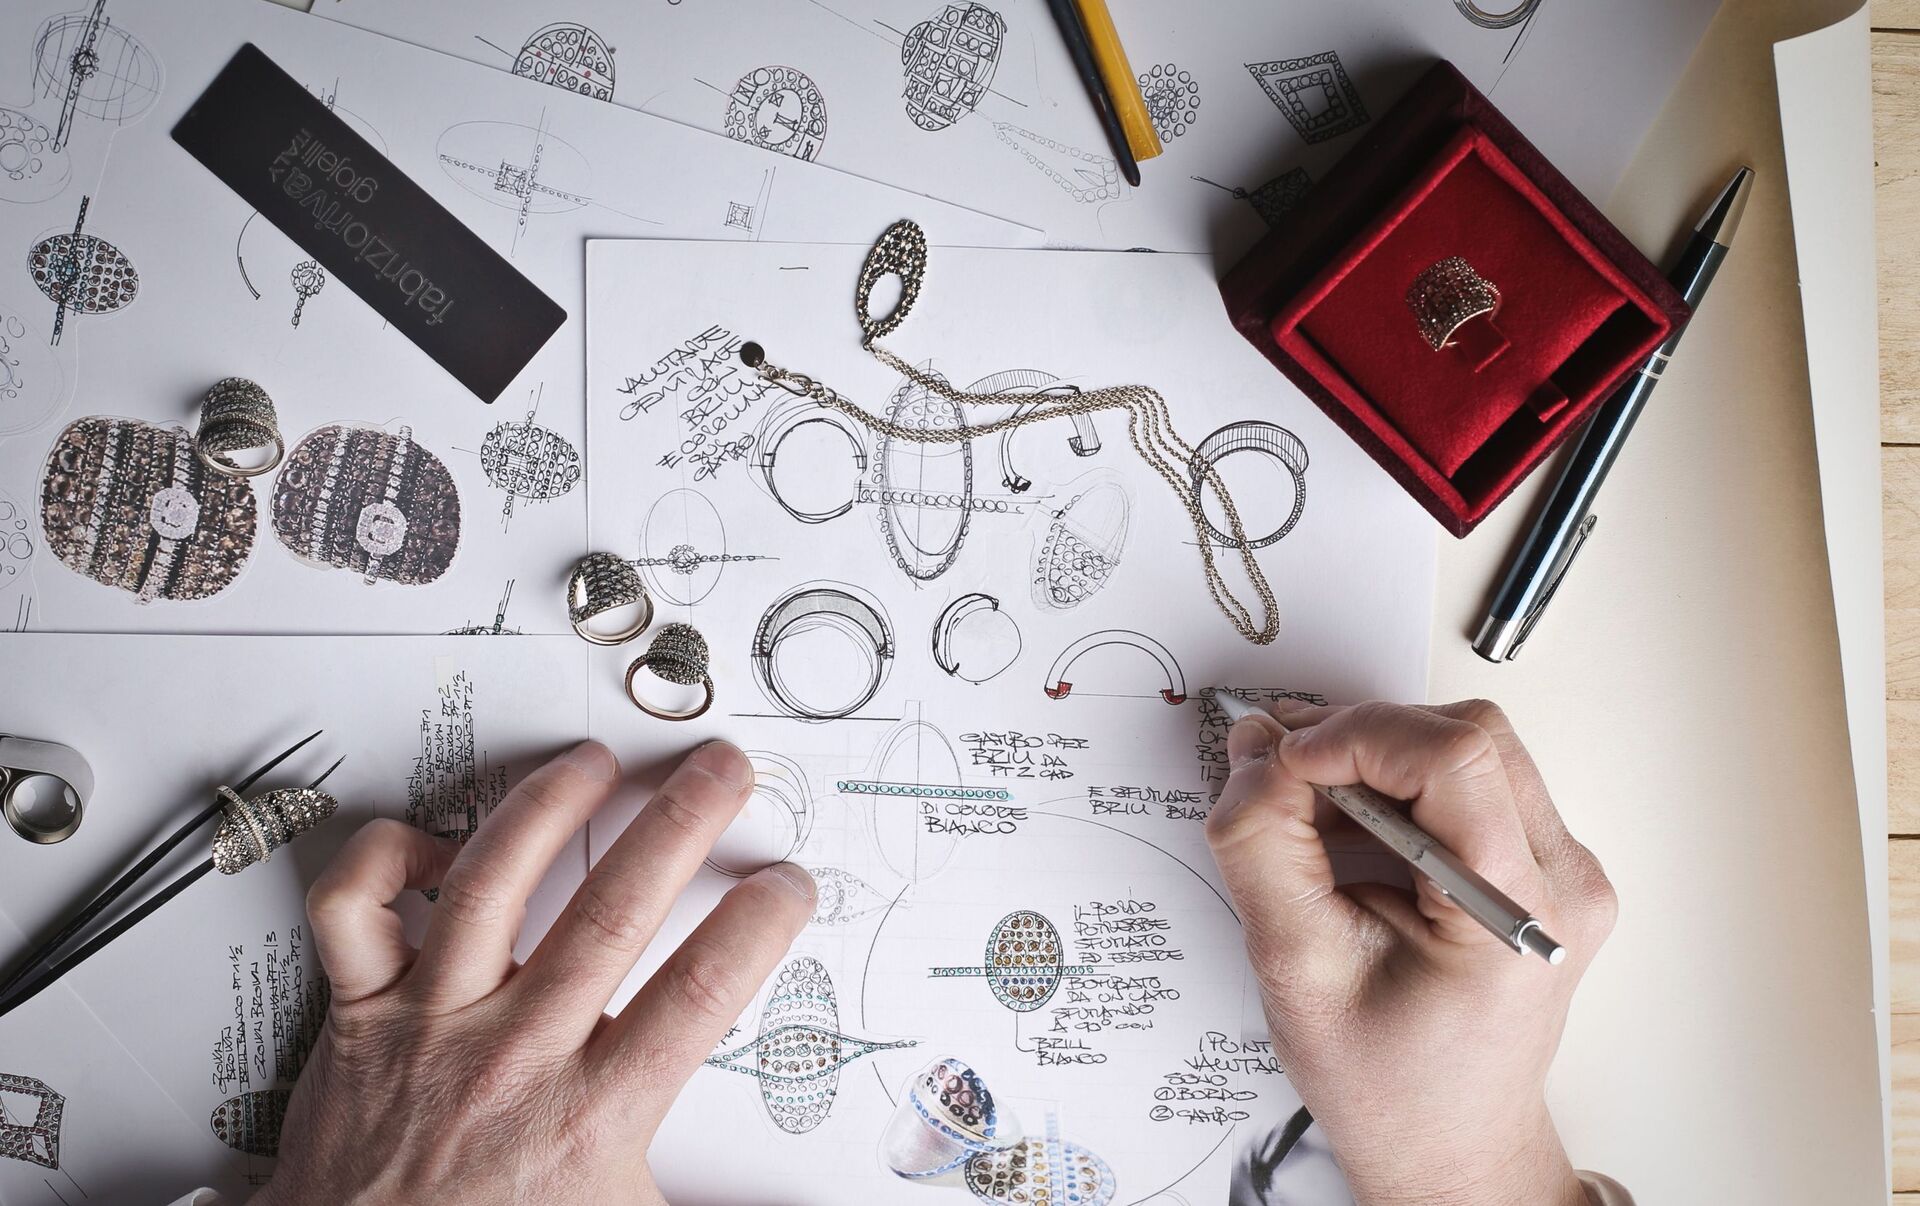
Manual Sketch Designing : Mastery in hand-drawn jewellery illustrations, emphasizing design fundamentals and aesthetics.
Mrs. Sharma's teaching philosophy integrates these tools to provide a holistic learning experience, ensuring students are well-versed in both the artistic and technical aspects of jewelry design. Her commitment to excellence and innovation has guided numerous students to successful careers in the jewelry industry.

Rehana S.
Jewelry Designer
I always loved hand-sketching antique jewelry, but could never turn my ideas into 3D. ZBrush helped me bring all that to life. Now I design for luxury brands in Jaipur.

Ajay V.
3D Jewelry Artist
The level of detail I can achieve in ZBrush is unbelievable. This course showed me how to sculpt everything from feathers to faces. I now make character pendants and sell them on Etsy.
Sasha M.
Fashion Jewelry Entrepreneur
I don’t have an engineering background, but I love design. ZBrush gave me the freedom to shape whatever I imagine, and the instructors made everything beginner-friendly.